September is the magical time of year for haybales, sunflowers, and corn husks. Which also means it’s the time of the year for a corn husk doll family!
Of course, if you save your corn husks or want to purchase some, you can certainly make them at any time of year. 🙂
Making a corn husk doll is very simple and quick. It is a good activity for kids to try too, as long as they have basic tying and cutting skills they can figure it out with some help from mom.

To make each doll you will need:
- 4-8 corn husks
- string or twine
- scissors

You will need to use dry corn husks so your doll don’t shrink or mold. You can dry your own, or purchase some.
Also, you want to make sure your husks are flexible enough to bend and tie without cracking. If your husks are too dry, you can soak or spray them with some water and let them sit for a few minutes until they are pliable enough to work with.
First we will make a male corn husk doll.
Step 1. Lay 6 corn husks together in a bundle and tie a string about 1.5 inches from the top.

Step 2. Flip each husk up over the string to cover the raw ends and form the head.

Step 3. Tie another string under the head to form the neck. The raw ends are now hidden inside the head.

Step 4. Separate 1 husk on each side of the doll for the arms.

Tie a string 2-3 inches down each arm to form the wrist. Then trim the ends of the arm husks.

Step 5. Tie a string 1.5 inches below the neck to form the waist.

Step 6. To make the legs, divide the remaining corn husks into two equal sections.

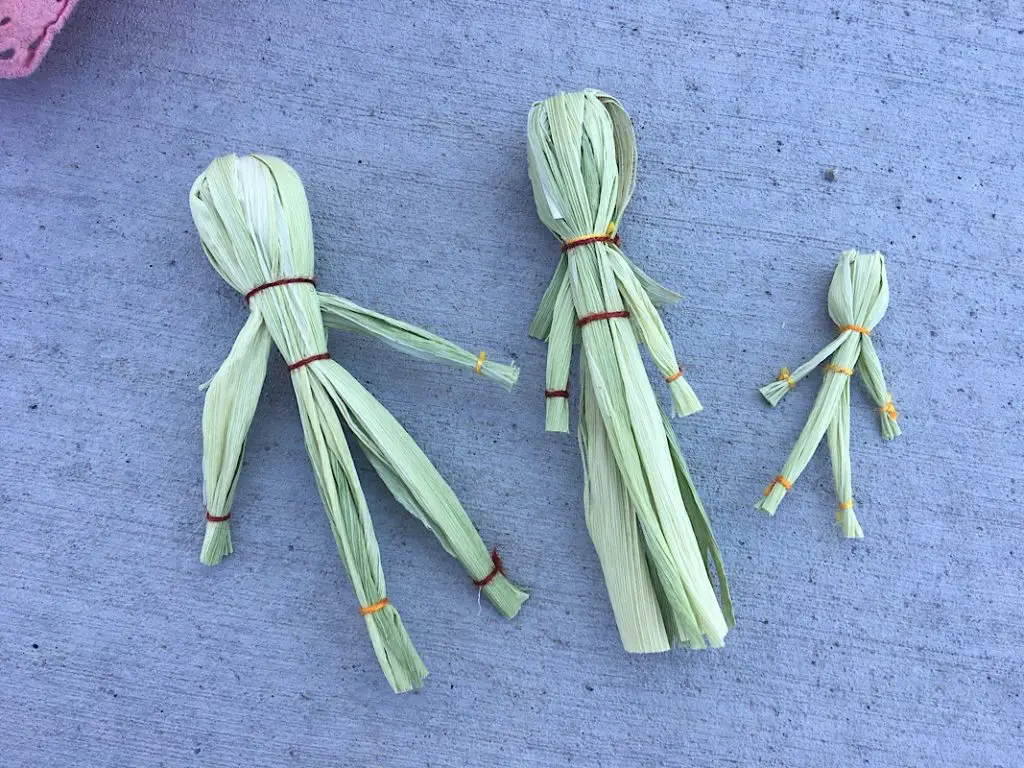
Step 7. Tie and trim each leg the same way you made the arms. Your male corn husk doll is complete!


It looks so awesome and cute! Now lets make it a family!
How to make a Female Corn Husk Doll
To make a female doll you will follow the same basic steps with only 2 variations I will summarize below.
Variation 1.
For your female doll, use 7 husks instead of 6.
After you have tied the neck and before you tie the arms, separate the extra husk on the back of the doll and trim it 1.5-2 inches under the neck to make some hair.
If you want, You can curl the edges up to make it look more like hair!


Variation 2. Instead of tying string to make legs, leave the husks hanging down and trim them straight across to make a dress.

Thats it! Now you have a mommy and a daddy.


Now lets make a baby corn husk doll!
To make a baby (or babies) you will follow these same steps, but you will only use 4 corn husks, and you will tie the head and limbs shorter to make the corn-husk-child-proportions.


You can even make them some cute little felt clothes. My toddler thinks they look cold.
She also wonders why they don’t have faces, but I think they look great without them! (But you could always use a sharpie to draw one on.)
If you liked this tutorial pin it and share it!